Which camera settings should you use to get the best drone photography results?
When taking drone photos, setting the correct camera parameters is crucial to getting the best results. You need to know how to adjust theShutter speed,aperture,ISOand other settings to capture clear and professional photos. Also, considerlightrespond in singingEnvironmental conditionsThe camera settings are designed to help you create stunning images and avoid losing valuable photo opportunities due to inappropriate settings. Whether you're a beginner or an experienced photographer, the right camera settings will make your work even better.
Key Points:
- Shutter speed: Use faster shutter speeds to capture moving objects to avoid blurred images.
- Aperture setting: Adjust the aperture to control the amount of incoming light and affect the depth of field.
- ISO value: Increase the ISO value appropriately in low-light conditions, but be aware that too high a value will generate noise.
- Shooting Mode: Select the appropriate shooting mode, such as Manual or Shutter Priority, according to the shooting environment.
- White balance adjustment: Adjust the white balance according to the lighting conditions to ensure color fidelity.
- Exposure Compensation: Use exposure compensation according to the needs of the scene to avoid over-exposure or over-darkening of the image.
- RAW format: Prioritize shooting in RAW format for post-processing and image quality adjustments.
Understanding Exposure
In Drone Photography.exposure (e.g. of photosensitive material)It is a key factor in ensuring image quality. You need to master the three basic settings of aperture, ISO, and shutter speed to get the ideal exposure. With the right combination of these settings, you can be sure to take photos with vivid colors and rich details.
ISO Setting
The ISO setting is another important factor that affects the brightness of your images. When you increase the ISO value, you can capture more light in darker environments, but theIncreases noiseWhen taking pictures, you should choose the appropriate ISO value according to the current lighting conditions to keep the pictures clear and unaffected by noise. When taking pictures, you should select the appropriate ISO value according to the current lighting conditions to keep the image clear and unaffected by noise.
Shutter speed
The shutter speed determines how long light enters the camera and is essential for capturing moving objects. You need to adjust the shutter speed according to your subject and the speed of the motion to avoidblurred image. Generally speaking, faster shutter speeds can condense objects in motion for sharper images, but in low-light conditions, slower shutter speeds may be needed to increase brightness.
When selecting the shutter speed, theIt is recommended that you follow a basic rule: The shutter speed should be at least as fast as or faster than the focal length you are using (e.g., at least 1/100th of a second with a 100mm lens). If you're flying in the wind or photographing fast-moving subjects, a faster shutter speed is necessary to avoid blurring the image. Also, try pairing the shutter speed with other settings such as ISO and aperture to optimize your drone photography results.
Choose the right aperture
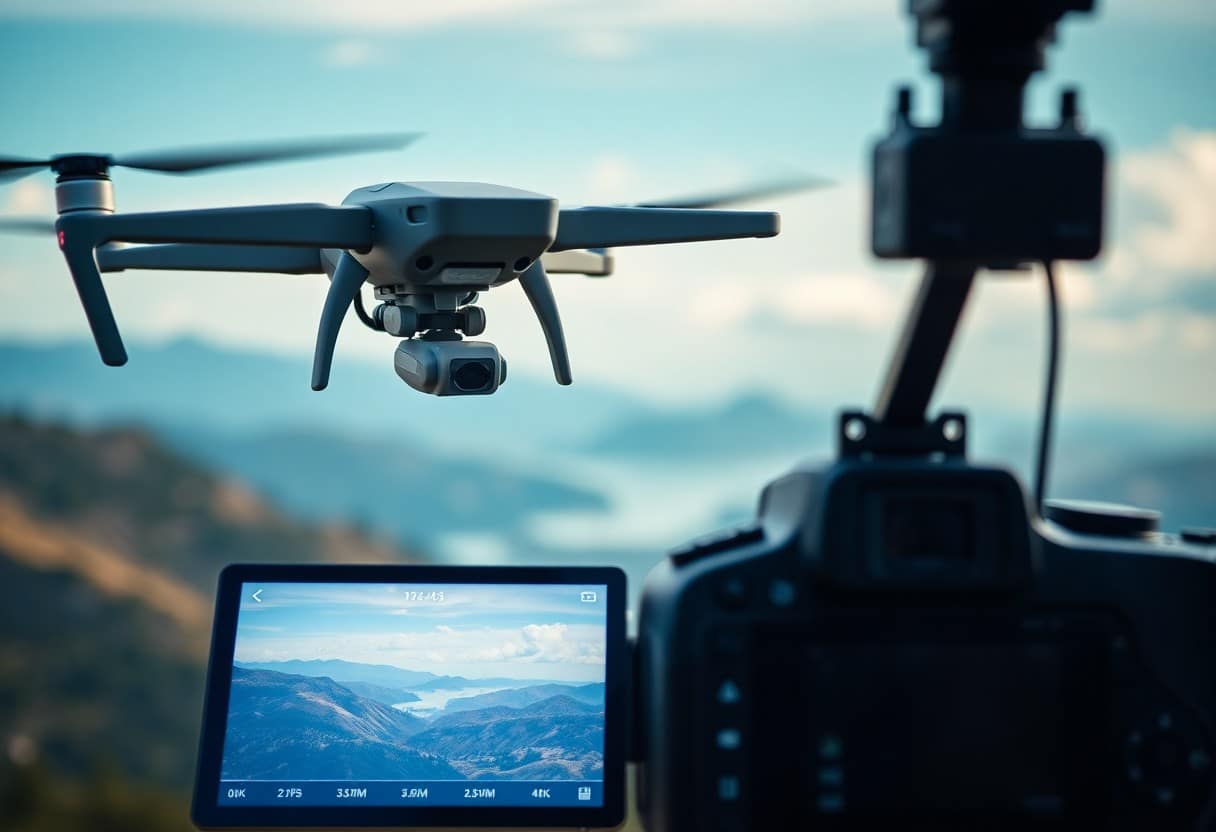
When you're taking drone photos, select theSuitable ApertureIt is important because it directly affects the clarity of the image and the depth of field. The size of the aperture affects the amount of light entering the camera, which in turn affects exposure and picture quality. Understanding how to balance the aperture with other settings is important for taking high quality pictures.
Effect of Aperture on Image Quality
The size of the aperture affectsImage clarity and detail. A large aperture (e.g. f/2.8) reduces the depth of field, blurring the background and emphasizing the subject, while a small aperture (e.g. f/11) increases the depth of field, helping to keep the entire scene sharp. Different aperture settings can have a significant effect on different subjects and environments.
Recommended Aperture Settings
For general landscape photography.f/5.6 to f/8An aperture setting of f/2.8 is usually the best choice, providing good sharpness and detail. For close-ups or subjects that require a blurred background, consider using a large aperture such as f/2.8.
When you choose your aperture, consider the subject you are photographing and the effect you wish to achieve. If you want to capture a sense of breadth in the landscape, use thef/8A smaller aperture will give you a more optimal depth of field. If you are focusing on a specific subject, you can use thef/2.8The aperture is set so that the subject is clearly shown and the background is blurred at the same time. Adjusting your aperture setting flexibly according to different shooting scenes and needs will greatly improve your drone photography results.
White balance adjustment
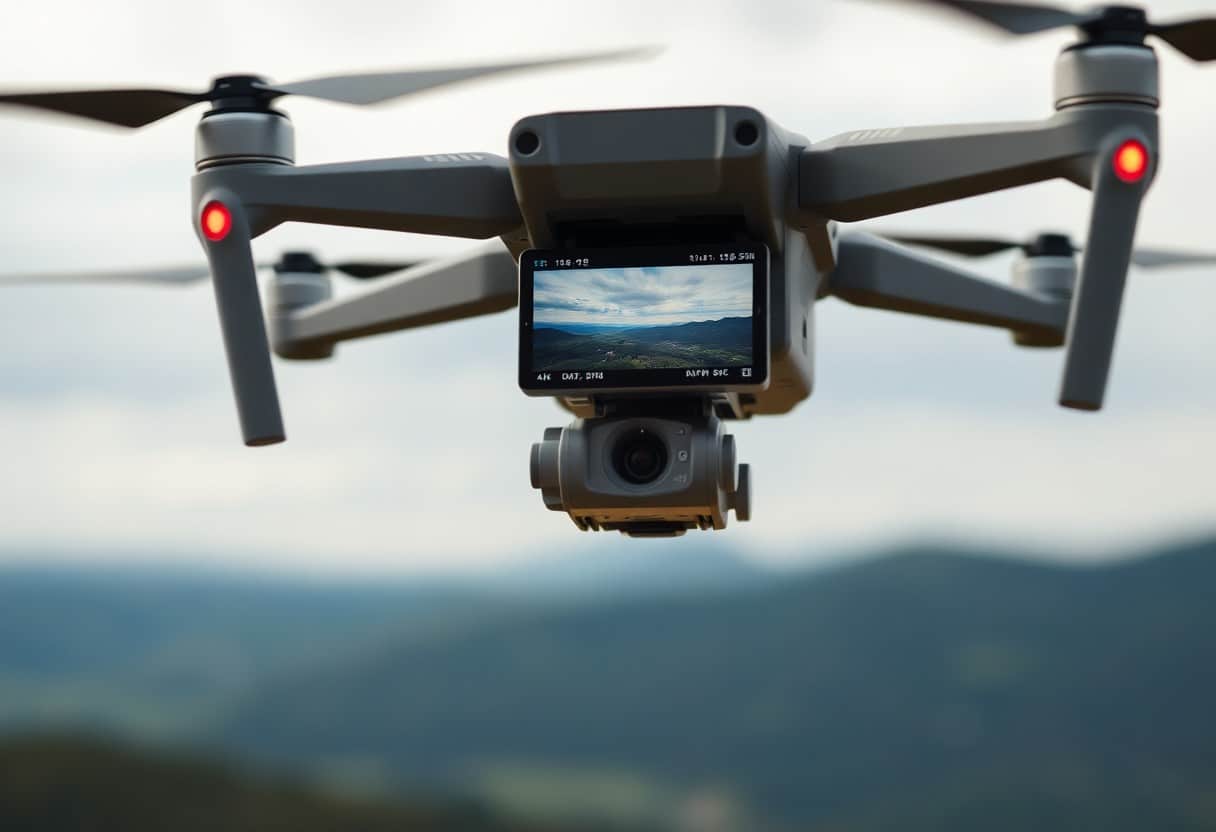
In drone photography, white balance adjustment is crucial to get the best color results for your program. Setting the correct white balance can make your photo colors more realistic and vivid. If you're not sure how to adjust it, you can refer to this article8 Steps to a Comprehensive Risk Assessment Before Flying a DroneThe discussion of the topic may help you to make the right choice by learning more.
Importance of Color Temperature
Color temperature is a key factor that affects the color and feel of an image. Different color temperatures will affect the tone of the photo, and the photographer needs to adjust according to the shooting environment. The following are the color temperatures of different light sources:
Light source and color temperature
| daylight | 5000 km - 6000 km |
| cloudy day | $7000 - $8000 |
| White Light | 3000 km - 4000 km |
Manual and Automatic Configurations
When taking drone photos, choosing between manual or automatic settings are two important factors that affect the results. The manual setting gives you precise control over the white balance, while the automatic setting allows you to simplify the process in case of uncertainty. Choose the method that best suits your needs.
Automatic settings offer convenience, but may not capture colors at their best, especially in complex lighting situations. In contrastManual settings allow you to make precise adjustments based on the needs of the scene.Although this requires more experience and skill. Therefore, in order to obtain the best possible photographic results, it is recommended that you try using the Manual Setup when you have the time and conditions to do so. This way, you can adjust the White Balance in each case to get a wider variety of color effects.
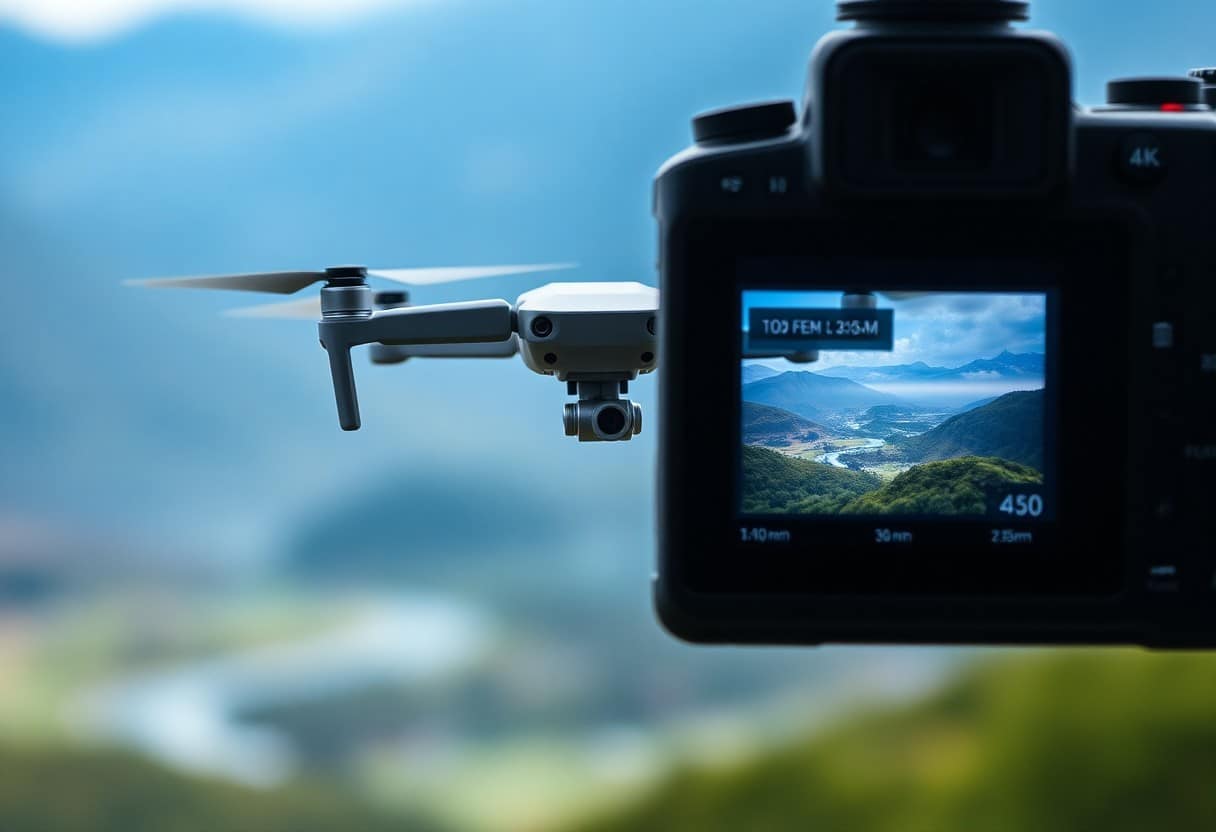
Selecting the ideal shooting mode
When taking drone photography, choosing the right shooting mode is the key to capturing the best images. Depending on your familiarity with photography and the needs of the scene at hand, you will need to choose between different modes. Each mode has its own unique characteristics that can help you achieve ideal results under different shooting conditions.
Manual and automatic modes
Manual mode allows you to have complete control over aperture, shutter speed and ISO, which is important for photographers seeking creativity and precision. In contrast, Auto mode is for beginners, allowing you to quickly adjust settings to capture moments faster. Choosing the right mode can help you better achieve the results you want.
Benefits of using RAW format
Using the RAW format for photography is the preferred choice of professional photographers because it offers maximum post-production flexibility. RAW files retain all of the image data, allowing you to adjust exposure, contrast, and color during the editing process without losing picture quality. This is a great option for those who want to get the perfect image.Not to be ignoredThe Advantage.
The great thing about using the RAW format is that it preserves more detail in the image, giving you more freedom in post-production editing. When you need toAdjust highlights or shadowsor to carry out aColor CorrectionRAW files provide better results without distorting the image. In addition, the RAW format is especially good for scenes with a high dynamic range, making it suitable for scenes that requirePrecise control of color and detailThe situation.
Camera Stability and Head Settings
To get the best drone photography results, stability is key. Using a PTZ can help you minimize shake during the photography process. Ensure your drone and camera are set up correctly and refer to theFrom Concept to Reality - 10 Essential Steps for 3D Design ProgramsThe quality of the photographs will be enhanced.
The Importance of PTZ Calibration
Accurate calibration of the head is essential to maintaining the stability of the captured image. Incorrect calibration can lead to unwanted picture shake and affect the quality of the final image. You should check and calibrate your head regularly to ensure it is in optimum condition before each session.
Tips for Stabilized Shooting
There are different techniques you can use to keep your images stable during the shooting process. For example, avoid strong winds and bad weather, keep your hands steady, and move the drone smoothly. In addition, you can use the navigation function of the drone to help control movement, which will minimize shaking during the shoot.
adoptSlow and steadyoperation ensures smoothness during filming, especially when changing height or turning. In addition, the use of thePTZ Anti-Shake Technologyas well asSuitable shutter speedto avoid unnecessary blurring. You may also want to consider using theRate limiting in the joystickThis will help to avoid vibration in the picture caused by rapid movement. Remember, the more stable the shot, the clearer the image will be.
Post-Processing Tips
in progressDrone PhotosThere are a number of techniques you can employ to enhance the quality of your photos during post-processing. It is important to note the following:
- adjustmentsexposure (e.g. of photosensitive material)respond in singingContrast
- amendmentColoraberration
- utilizationcropTo improve the composition
Basic Steps for Battery Management in Drone FlightWe will provide you with more insights.
Basic editing to enhance photos
You can do someBasic EditingTo improve the effect of the photo, such as adjusting theluminancerespond in singingSharpnessThis makes your images look sharper and adds detail. This makes your images look sharper and adds detail.
- adjustmentsluminance
- riseSharpness
Advanced Editing Tips
UnderstandingAdvanced Editing TipsIt allows you to realize the full potential of your drone photos. With these tips, you can achieve greater flexibility and creativity in post-processing.
- utilizationLayerrespond in singingshields
- adjustmentscurveTo improve the comparison
| Editing Tips | descriptive |
|---|---|
| Layer Usage | Allows you to edit each section independently without affecting the overall image. |
| Curve Adjustment | Flexible adjustment of image brightness and contrast. |
Advanced editing also requires attentionDetailsandcompleteness.. Here are some highlights:
- Choose the right editing tool
- Maintaining the natural feel of the image
| Highlights | Description |
|---|---|
| Correct Tools | Use the appropriate software for best results. |
| naturalness | Avoid over-editing to keep your photos authentic. |
Best Drone Camera Setup
To get the best out of your drone photography, there are a few key settings you need to master. First, make sure you use the right shutter speed and aperture to control exposure and depth of field. Next, choose the right ISO value to get sharp images without excessive noise. Finally, remember to use the white balance setting to present realistic colors. Adjust these settings before each flight based on the current light and environmental conditions to make your drone photography even better.
Frequently Asked Questions
Q: What ISO settings should I use to get the best drone photography results?
A: It is usually recommended to keep the ISO setting between 100 and 400 for best picture quality. When there is enough light, using ISO 100 can minimize noise, while in darker environments, you can increase the ISO to 400 but be aware of the increase in noise.
Q: What shutter speed should I set for drone photography?
A: Shutter speed depends on how dynamic the subject is. Generally speaking, a shutter speed of at least 1/250 second is recommended, or 1/500 second or faster for fast-moving objects to avoid blurring.
Q: How does aperture size affect drone photography?
A: Aperture size affects the depth of field and the amount of incoming light. A smaller aperture (e.g. f/8 or smaller) provides greater depth of field and is suitable for landscape photography. A larger aperture (e.g. f/2.8) creates a shallow depth of field, emphasizing the subject and blurring the background, making it suitable for shooting specific subjects.
Q: How do I set the white balance to get the correct color?
A: The White Balance should be adjusted according to the recording environment. On a sunny day, you can select "Daylight" mode, while in cloudy conditions or at sunset, you can use "Shadow" or "Sunset" mode. Adjusting the white balance manually can also result in more accurate colors.
Q: Should I use auto focus or manual focus?
A: In most cases, Auto Focus accomplishes focusing quickly and accurately, especially when photographing moving objects. However, when shooting still landscapes or specific details, manual focus allows the photographer to have precise control over the focus.
Q: Does the volume/external microphone setting affect the quality of the movie?
A: Yes, proper volume and the use of an external microphone can greatly improve the sound quality of your movie. When shooting a movie, make sure you use the proper audio settings to capture clear sound that is not interrupted by background noise such as wind.
Q: Are there any special techniques that can be used to improve the picture quality when shooting?
A: Using ND filters can help control the amount of incoming light, thus improving exposure control and picture quality. When photographing landscapes, planning ahead and utilizing the golden hour (dawn or dusk) to get soft light will dramatically improve the quality of your photos.
