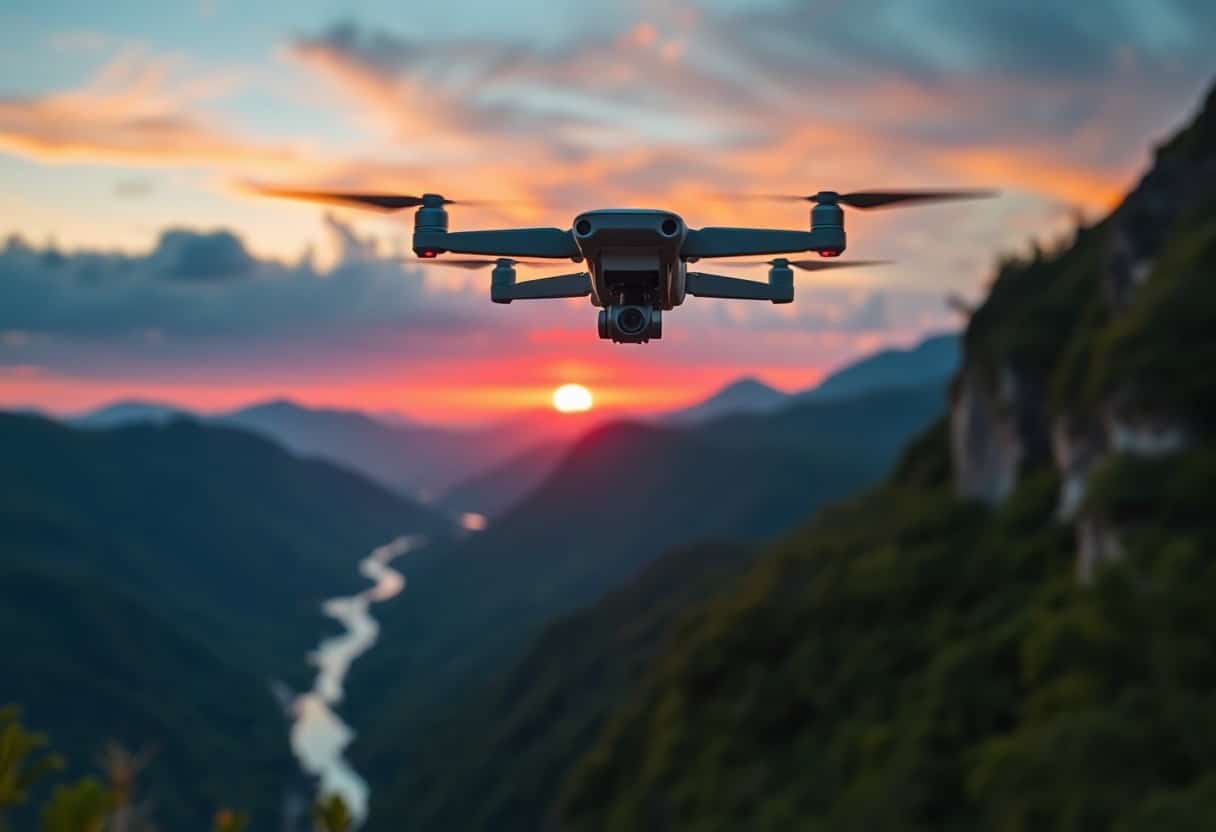
How does the camera setup affect the results of aerial photography?
In aerial photography.Camera SetupIt has a profound effect on the quality of the final image. Knowing how to properly adjust aperture, shutter speed, and ISO will help you achieve sharp, vivid photos. Whether you're a beginner or an experienced photographer, mastering these settings will enhance your work. At the same time, pay attention to the effects of external conditions on your shots so you can avoid common mistakes and make sure your aerial photography results are at their best.
Highlighted Tip:
- Shutter speed: Shutter speed affects the ability to capture motion, with faster speeds reducing blur and making it ideal for photographing fast-moving objects.
- Aperture setting: Aperture size determines the depth of field, with larger apertures (small f-numbers) achieving a blurred background and smaller apertures (large f-numbers) having a wider range of clarity.
- ISO sensitivity: Increasing the ISO will allow you to take pictures in low-light conditions, but too high an ISO will increase noise and affect image quality.
- white balance: The correct white balance setting ensures that the image has natural colors and avoids an overly yellowish or bluish effect.
- Focus Mode: The right focus mode is key, and mobile subjects may require the use of autofocus to keep the subject sharp.
- Shooting Angle: Different camera angles can show different visual effects, and the best angle should be chosen according to the theme of the scene.
- post-production skills: Even if the settings are good, post-processing is just as important to further enhance colors and details to improve the overall effect.
Understanding Camera Settings
When doing aerial photography, it is crucial to master the camera settings. Each setting of the camera will directly affect the quality of the final image. Understanding these settings can help you get the best photos under different shooting conditions, so you need to have a clear understanding of each setting.
ISO: Sensitivity to light
The ISO value determines how sensitive your camera is to light. If the ambient light is low, you can increase the ISO to make the camera more sensitive to light. HoweverExcessive ISO introduces noise, which affects image clarity.Therefore, you need to be careful when adjusting the ISO.
Shutter Speed: Freeze Motion
Shutter speed controls how long the shutter opens and closes. Faster shutter speeds can help you freeze fast-moving objects and ensure sharpness.In aerial photography, you usually need to choose a faster shutter speed to cope with the instability in the air and to ensure a sharp image. In aerial photography, you usually need to choose a faster shutter speed to cope with airborne instability and to ensure a sharp image.
Choosing the right shutter speed is important becauseIt not only affects the sharpness of the image, but also the overall dynamics of the image.. Slower shutter speeds can have a blurry effect, which may be desirable in some cases, but when capturing flying objects, you should consider shooting at 1/500th of a second or faster to ensure that the object is not blurred by motion. Fully understanding the use of shutter speed will give your aerial photography a more professional quality.
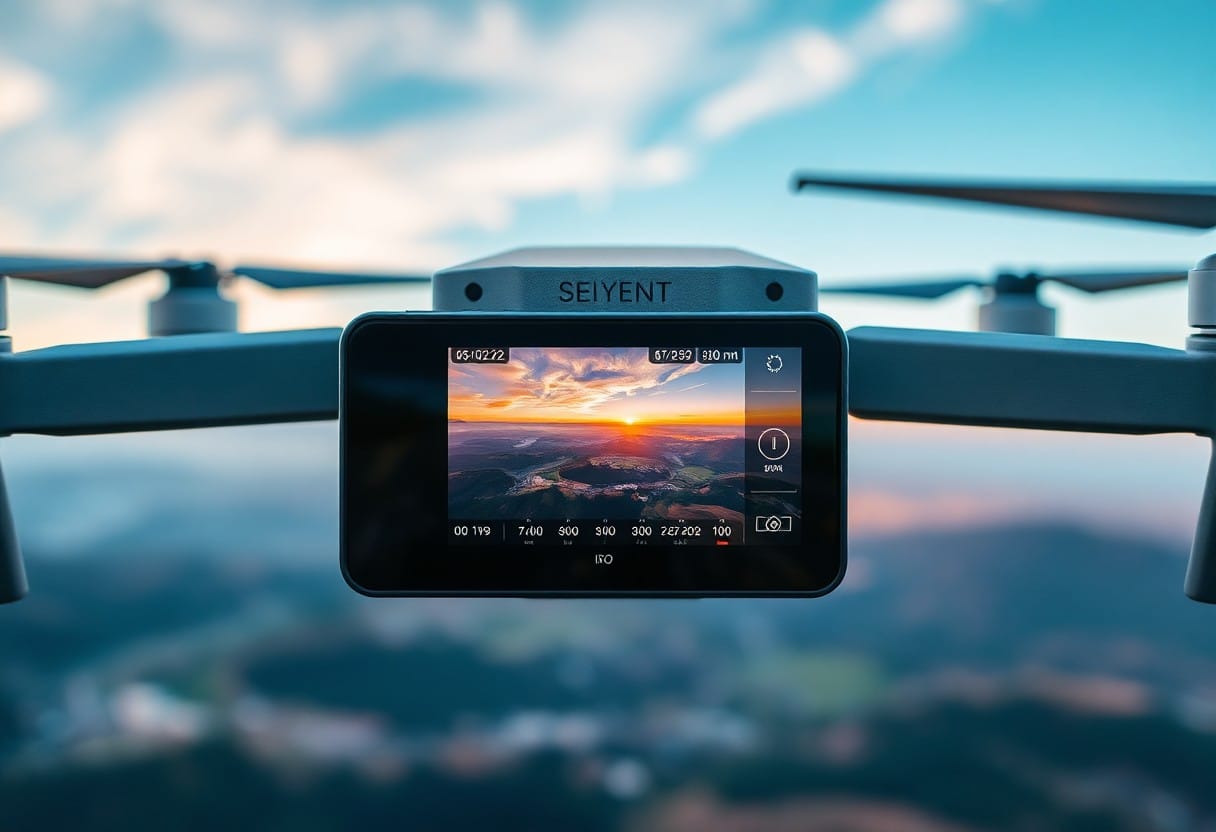
Aperture: Controls depth of field
In aerial photography.apertureThe size of the aperture has a profound effect on the depth of field of an image. By adjusting the aperture, you can control the sharpness of the foreground and background. In general, a larger aperture (e.g. f/2.8) blurs the background and emphasizes the subject, making it ideal for photographing a single conspicuous object. A smaller aperture (e.g. f/16) will make the whole picture clearer and is suitable for taking pictures of wide landscapes. For more tips on how to use aperture, please refer toWhat is the key information required for an aviation flight approval?
Large aperture vs. small aperture
A large aperture (e.g. f/2.8) gives you better exposure in low light situations and creates a beautiful background blur, while a small aperture (e.g. f/11 or f/16) is ideal for situations where you want the overall picture to remain sharp. The choice of aperture size must be based on the desired photographic effect.
Impact on Aerial Photography
The choice of aperture directly affects the outcome of your aerial photography, especially when taking pictures of details and subjects. The right aperture setting can increase the quality of your image and help you better express your photographic intentions.
When you take an aerial photograph using a large aperture, the subject may stand out in the frame while the background is blurred, which works well for emphasizing specific objects. However, using a small aperture makes the whole picture uniform and clear, making it easier to convey the grandeur of a wide landscape. Understanding Your Photography NeedsIt is important to choose the right aperture as improper aperture settings may cause you to lose important details unnecessarily. Be sure to adjust it to the situation to get the best possible results. Experiment with different aperture settings for inspiration and to enhance your aerial photography.
White Balance: Accurate Color Representation
In aerial photography.white balanceThe settings are critical to obtaining accurate color performance. If the settings are not correct, your recorded images may appear off-color. Choosing the correct White Balance option ensures that images have natural colors, especially under different lighting conditions. You can refer toWhat basic features should you look for in a 3D design program?Come learn about best practices.
Automatic and manual settings
Using the Auto White Balance setting can help you get good color quickly in different environments, but it can also lead to inconsistent results. In contrast, adjusting the white balance manually allows you to fine-tune it for better color accuracy based on specific lighting conditions. Choosing the right setting depends on your shooting style and needs.
Effect of different light conditions
Differences in lighting conditions can strongly affect the color performance of your images. Strong sunlight may cause overexposure, while soft light on a cloudy day may make colors dark. For ideal results, you should carefully examine the effects of light and adjust your camera's White Balance setting according to the environment. This will ensure that your images maintain natural colors and details in different environments, making the final result even better.
Exposure Compensation: Managing Brightness
In aerial photography.Exposure Compensationis a key setting that helps you adjust the brightness of your pictures to get the desired effect. Whether it's a cloudy day or a sunny day, proper exposure compensation will keep your work natural and detailed in different environments, avoiding overexposure or underexposure.
Importance in High Dynamic Range Scenes
In high-dynamic range scenes, such as sunrise or sunset, theExposure CompensationThis is especially important. These scenes often have very bright light sources and dark shadows, and proper compensation ensures that the details you capture are not lost due to extreme lighting differences.
Tips for Aerial Images
When taking aerial images, the technique of using exposure compensation can significantly improve the quality of your work. When thinking about how to apply this setting, you can take into account the lighting in your surroundings and make adjustments as needed. Try it in different shooting modes.+1 or -1of exposure compensation to find out the best results.
When taking complex aerial images, it is important to utilize theExposure Compensationcan help you get the best results in a variety of lighting conditions. First, use the camera's histogram to check the exposure, then manually adjust the compensation value as needed. Also, consider turning on Auto HDR mode while shooting for a wider range of brightness. These tips will help you be more flexible in responding to different lighting conditions, and ultimately make your work more vibrant and layered.
Focus Setting: Achieve Sharpness
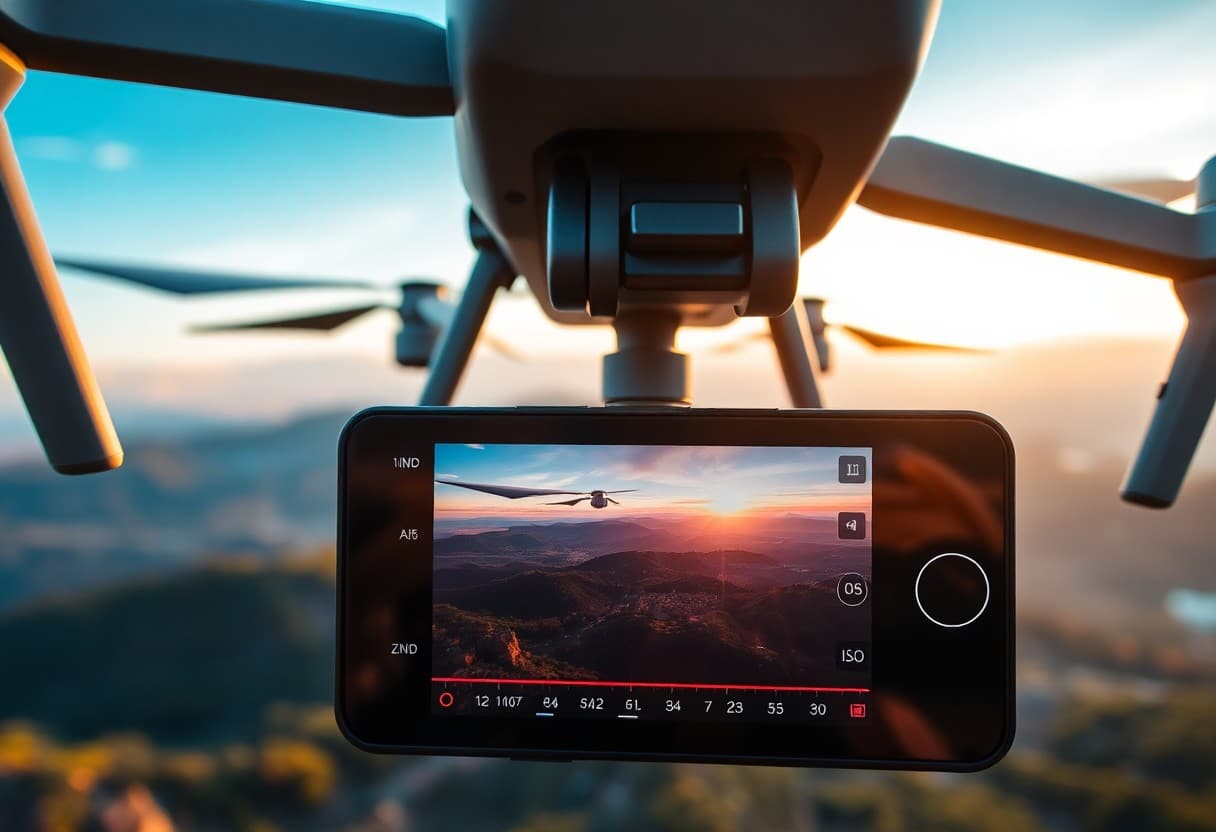
In aerial photography.Focus SettingIt's an important factor in making sure your photos are sharp. The right focus allows you to take stunning images that emphasize details and enhance the overall visual effect. Knowing how to adjust your focus setting will help you get the best results in a variety of shooting situations.
Manual Focus and Auto Focus
When selecting the focus setting, theManual Focusrespond in singingAuto FocusEach has its own advantages and disadvantages. Manual focus lets you capture every detail, making it ideal for complex scenes. Autofocus is quick and easy to use, especially in fast-moving situations, and helps you capture images quickly.
The Importance of Focal Points in Different Contexts
Focal points in aerial photography haveCriticalityThe reason for this is that different shooting situations affect the sharpness and detail of the image. Whether it's a spectacular terrain or a dynamic cityscape, you must adjust the focus setting to the situation to ensure the best possible results. Failure to adjust the focus correctly may result in losing your precious images.
In various shooting situations, the focus setting of thesignificanceIt is not to be overlooked. Different circumstances, such as wind, light changes, or the movement of your subject, will affect the accuracy of your focus. You may face challenges such as capturing details in low light conditions or maintaining sharpness in fast-moving scenes. Understanding and being flexible in these situations can help you create better aerial photography.
Compositional Techniques for Aerial Photography
In aerial photography, good compositional skills are essential for capturing compelling images. By arranging your images properly, you can emphasize the focal point and draw the viewer's attention. Check out the10 Key Steps to Registering a Drone Under Current RegulationsYou'll gain more inspiration and master how to enhance your work.
The Rule of One-Third and Leading Lines
Use the rule of thirds to give your images a sense of balance. Place key elements at intersections so that the viewer's eye naturally flows to these focal points. Additionally, use leading lines to draw the viewer's eye into the frame, giving the photo more depth.
Make good use of natural landmarks
When taking aerial images, utilize theNatural LandmarksYou can add rich storytelling and layers to your photos. You can choose a river, mountain, or other unique terrain as the main element of your image, which not only draws the viewer's attention, but also emphasizes theYour connection to the environmentThe
Adopting natural landmarks will not only bring your images to life, but will also help you toEstablishing the geographic context of a photoThis will make the whole composition more attractive. When choosing landmarks, consider the changes in light, shadow and color that can enhance the visual effect of the image. Ensure that your composition includes strong landmarks to make your aerial photography even better.
How do camera settings affect your aerial photography results?
In aerial photography, camera settings have an undeniable impact on the quality and style of the final image. You need to understand how basic settings such as shutter speed, aperture and ISO interact with each other to capture sharp, dynamic images. A good exposure setting will help you take great photos in different lighting conditions, while the right focal length will emphasize the subject you want to convey. By making precise adjustments to these settings, you'll be able to create more visually striking aerial shots.
Frequently Asked Questions
Q: How does the camera setup affect your aerial photography results?
A: Camera settings have a significant impact on aerial photography because you need to consider parameters such as aperture, shutter speed and ISO to ensure that your photos are sharp and correctly exposed.
Q: How does aperture size affect aerial photography?
A: Aperture size affects the depth of field and exposure of the photo. A larger aperture (e.g. f/2.8) creates a shallow depth of field and makes the subject stand out, but for wide-angle aerial photography, a smaller aperture (e.g. f/8 or f/11) is recommended to ensure clarity of the foreground and background.
Q: How should I choose the shutter speed?
A: The choice of shutter speed depends on the speed of movement of the subject. If you are photographing a stationary object, the shutter speed can be slower; for fast-moving objects, it is recommended to use a faster shutter speed (e.g. 1/1000 second) to avoid motion blur.
Q: What is the effect of ISO value on aerial photography?
A: ISO value affects the camera's sensitivity to light. Increasing the ISO value (e.g., 800 or 1600) will maintain exposure in low-light conditions, but will also increase noise. In sufficient light, choosing a lower ISO (e.g. 100 or 200) will improve the quality of your photos.
Q: How do I make sure the exposure is correct?
A: Use the camera's metering mode to measure the light of the scene. Ensure a reasonable exposure and, if necessary, adjust the aperture, shutter speed and ISO to get the desired effect. It's also a good idea to use the histogram to check if the photo is overexposed or underexposed.
Q: How should I set the white balance for aerial photography?
A: The white balance setting is critical to the color reproduction of your images. Adjusting the white balance under different lighting conditions can prevent color casts in your photos. Usually on a sunny day, use the "Daylight" mode, while on a cloudy day or at sunset, you may need to select the "Shadow" or "Cloud" mode.
Q: What is the importance of digital post-production in aerial photography?
A: Digital post-production can further improve the end result of aerial photography. By adjusting lighting, contrast, and color correction, photos can be made more vivid and visually appealing. Proper post-production can compensate for possible deficiencies in camera settings.
